Published · Last updated · Rapid Water Damage Restoration Illinois
There's a special kind of dread in looking up and seeing a stain spreading across your ceiling. Is it just cosmetic? Is the ceiling about to come down? Do you need a bucket, a handyman, or a full restoration crew? Most guides jump straight to repair instructions, but ceiling water damage repair lives or dies on the diagnosis. Fix the surface without understanding what's happening above and inside the ceiling, and you'll be doing the job twice — once now, and once after the mold shows up. This walkthrough takes you through the same assessment a restoration professional makes, step by step.
Step 1: Find the Water Source Before You Touch the Ceiling
Never start ceiling water damage repair at the ceiling. Start above it.
If there's a bathroom overhead, the usual suspects are a leaking toilet wax ring, a failing shower or tub caulk line, a loose supply line connection, or a cracked drain pipe. Check the bathroom floor around the toilet base and tub for dampness — water often travels along the subfloor before it shows on the ceiling below.
If there's a roof or attic above, you're looking at a roof leak, failed flashing, or an ice dam. Head to the attic with a flashlight during or just after rain and look for staining on the underside of the roof deck above the damage.
If there's another living space above, suspect a plumbing leak in the wall or floor cavity.
Shut off water to the suspected source if you can. Until the source is stopped, any ceiling repair is pointless. If you can't identify the source, call a professional — hidden leaks are exactly what moisture mapping equipment is for.
Step 2: Classify the Damage — Stain, Sag, or Structural Threat
Classify what you see — these three levels determine everything that follows.
Level 1 — Surface stain. A discolored patch, flat to the touch, with drywall that feels firm and solid. This usually means a small or brief leak. Cosmetic repair is possible — but only after confirming the source is fixed and the area is fully dry.
Level 2 — Soft, sagging, or bubbling. The drywall feels soft or spongy; paint is bubbling or peeling; the ceiling bows downward. The saturated core has lost its structural integrity permanently — it must be cut out and replaced, not dried.
Level 3 — Collapse risk. Visible sagging of an inch or more, radiating cracks, crumbling drywall, or active dripping. Do not poke, press, or puncture a bulging ceiling yourself. Clear the area below and call a restoration professional for a controlled removal.
Homeowners consistently underestimate Level 2 as Level 1. If you're unsure, press very gently around the edges of the damage — softness beyond the visible stain means the saturation extends further than it looks.
Step 3: Determine How Far the Moisture Spread
The visible damage is the tip of the iceberg. Water spreads through ceiling cavities along joists and can saturate insulation and framing well beyond the stain.
Check the edges. Feel the ceiling in a widening circle around the damage. Softness or coolness extending outward means the saturation reaches further than it looks.
Sniff for mustiness. A musty smell in the room — especially when the HVAC kicks on — suggests moisture (and possibly mold) inside the cavity.
Assume wet insulation is ruined. If there's fiberglass insulation above the ceiling, assume it's compromised. Wet fiberglass mats down, loses its insulating value, and typically must be removed and replaced rather than dried in place.
Step 4: Drywall — When to Dry It and When to Remove It
Drywall can be dried and saved when: The exposure was brief, the drywall still feels completely firm, and moisture meter readings confirm normal levels. A small, quickly-caught leak that left a light stain on firm drywall is the classic save scenario.
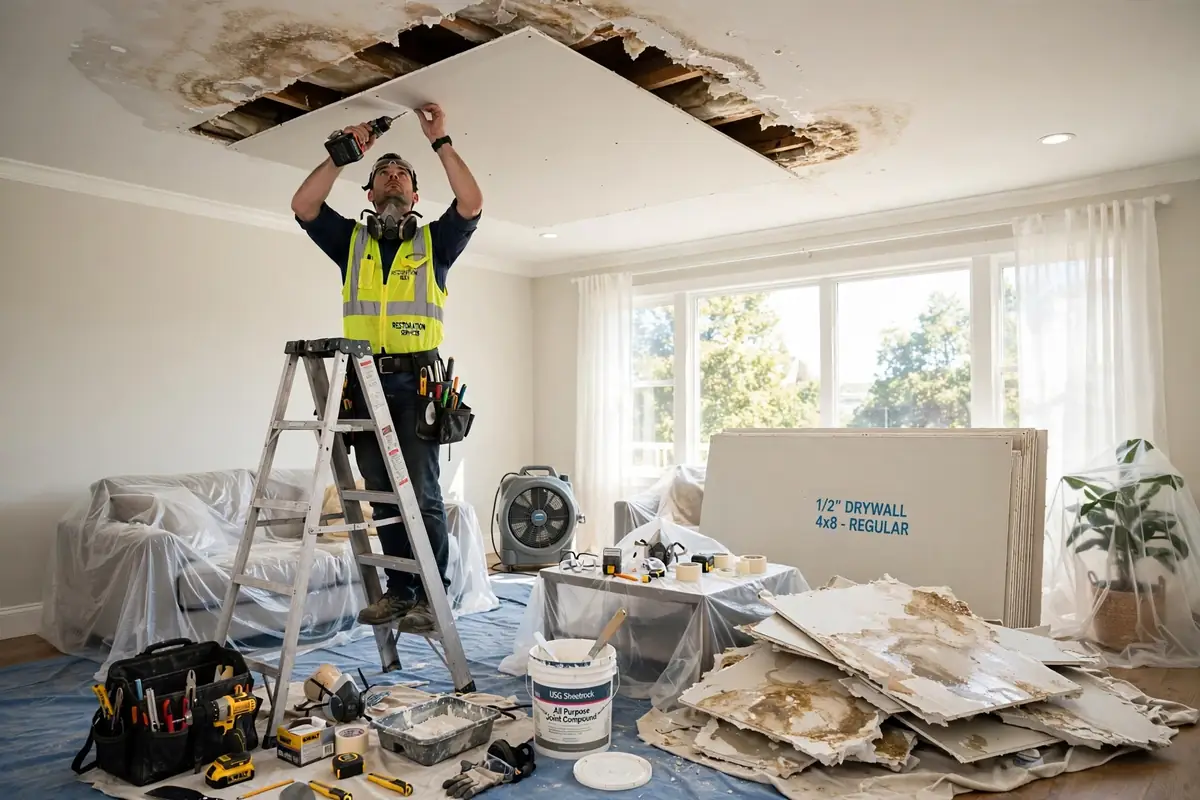
Drywall must be removed and replaced when: It feels soft or spongy, it's sagging or bulging, the paper facing is delaminating, there's visible mold, or it was exposed to contaminated water (sewage, floodwater). Drywall that has lost its structural integrity won't regain it.
The cut line matters. When removing damaged drywall, pros cut back to clean, dry, firm material — typically several inches beyond the last sign of damage — because moisture wicks outward through the gypsum core. After removal, the cavity is dried professionally and the framing checked for mold before new drywall goes up.
Step 5: The Classic Scenario — A Bathroom Leak Above the Ceiling
If your ceiling damage sits below a bathroom, you're dealing with the most common residential ceiling leak — and it has its own playbook.
Toilet leaks usually show up as a stain that grows slowly over weeks, often with a musty smell. The wax ring seal between the toilet and the floor flange fails, and every flush sends a little water into the subfloor. By the time the ceiling below shows damage, the subfloor may be significantly rotted — fixing the ceiling without pulling the toilet and inspecting the subfloor is a guaranteed repeat.
Shower and tub leaks come from failed caulk, cracked grout, or a leaking drain assembly. These often produce intermittent staining that appears after showers and fades between — the on-and-off pattern is the tell, and the cavity can grow mold while the surface looks fine.
Supply line leaks are the urgent ones — a loose connection can go from drip to spray, and a burst line can dump gallons per minute into the cavity. If damage appeared suddenly and is growing fast, shut off the water and treat it as an emergency.
In all three cases, the repair sequence is the same: fix the plumbing source, verify the cavity is dry (moisture meter, not guesswork), remove compromised drywall and insulation, treat any mold on framing, then rebuild.
Step 6: Know When This Is a Professional Job
You can reasonably handle a small, firm Level 1 stain from a known, fixed source — stain-blocking primer and paint, after confirming dryness. Call a professional when any of the following are true:
- The drywall is soft, sagging, or bulging (Level 2 or 3)
- You can't identify or access the water source
- The damage covers more than a small patch — anything bigger than a dinner plate deserves a professional look
- There's a musty smell suggesting hidden mold, or insulation above the ceiling got wet
- The water was contaminated (sewage, floodwater)
- The ceiling is plaster or lath (common in older Chicago homes) — it needs specialist handling
- Electrical fixtures or wiring are in the affected area
A restoration company brings moisture mapping, structural drying equipment, mold remediation capability, and rebuild services — the full sequence from diagnosis to finished ceiling.
Get the Diagnosis Right the First Time
Ceiling water damage repair isn't really about the ceiling — it's about the water above it, the moisture inside it, and the materials you can't see. Get the diagnosis right and the repair is straightforward. If you're looking at anything beyond a small, dry, firm stain — or you simply aren't sure what level you're dealing with — Rapid Water Damage Restoration Illinois can assess it with moisture mapping and thermal imaging, then handle the full job from drying to finished drywall. Call (773) 200-3228 and we'll walk through it with you, step by step.
Frequently Asked Questions
How long does ceiling water damage take to dry?
Surface moisture can dry in a day or two with good airflow, but a saturated ceiling cavity typically needs several days of professional dehumidification. Drying is verified with moisture meter readings compared to dry reference areas — not by touch or appearance.
Can I just paint over a water stain on my ceiling?
Only if the source is fixed, the drywall is firm and fully dry, and there's no mold. Use a stain-blocking primer first — regular paint won't cover water stains; they'll bleed right back through. If the drywall is soft or the stain keeps returning, paint is hiding a problem, not fixing it.
Is a sagging ceiling dangerous?
Yes, potentially. A water-loaded ceiling can collapse without much warning, dropping heavy wet drywall, insulation, and water onto whatever is below. Keep people and pets out from under a sagging or bulging ceiling and call a professional for controlled removal.
My ceiling stain dried up and disappeared. Do I still need to worry?
A stain that fades means the surface dried, not the cavity. If the source wasn't identified and fixed, water may still be entering intermittently and mold can be growing unseen inside. A faded stain with an unknown source deserves an inspection.